
She has super long tutorials and has a wicked bizarre laugh and often wanders off the screen to get coffee,
other supplies or journals to show her audience. Sometimes a bit hard to take but what she does with magazines
is great so it is worth a watch.
Another video blogger that is worth following, if you are interested in this type of artistic endeavor, is
Jamie Ridler Stuidos at https://www.youtube.com/user/jamieridlerstudios
She is easier to listen to that Dede and is a very talented gal.
What is magazine journalling you ask?
Well, it is very similar to creating an altered book, but it is an altered magazine.
The biggest difference is that instead of covering your book pages with collage elements you use
a process called, for lack of a more technical term, reverse collage. In the magazine journal you would paint out
the text and make it into negative space, thus giving the images center stage. If you so wish, you could use the
newly created blank spaces to journal on, add some collage elements or leave blank.
Fun, right?
The trick to this process is to use a high quality magazines with thick pages, like the many art magazine put out by
Stampington & Company. What a great use of a magazine that you have already read. You save and enhance
the parts that you love and have a great time doing it BONUS!!
One thing that I really like about this type of project is that it makes you be more conscious of color, size and texture.
Here's what I did:
Two Stampington magazines......glued the back of one to the cover of the other. Made sure they were placed
correctly, put two heavy books on top and let them dry.

Well, I should have left them to dry over night, but I just could not help myself. So I gathered up some of my decorative papers and created a cover for my new journal......how could that hurt, right?

Front

Back
I just can't seem to get away from the "grunge look." Maybe I will make the next one pretty.
Now to add insult to injury I decided to do just one page.....what hard could it do? Right?
I am such an immediate gratification kind of girl....so the first two pages of the magazine were
advertisements and text for the most part with the exception of a lovely painting of a young girl
whose face they trimmed off next to her right eye to make the text fit. So I went about fixing that.
Painting on some hair.....changed her hair color, painted some more roses on the front of her dress.
Then I tried to match the colors in the painting to something that I had in my craft paints. No match
but I made due. Voila! No more text. (Well, if you look close enough you can see the text
peeking though, but that is just background noise, right?

(Under the Rose by Ursula Wollenberg-Stampington & Co. March 2018)

Sorry for the shadows of me taking the picture. I also need to go back and find out that name
of the artist so I can acknowledge their work. Must follow the old copyright laws even
when you are playing. (Done- 03/24/18)
One would think that I would stop there, right. Nope. I dried it with my heat gun and turned to the last page of the two magazines and began another. Probably not the best of ideas......both Dede and Jamie said not to......Let it dry for at least 24 hours they said. Oh, live dangerously!!!!!

This was just a two page spread of advertisements....what else would one expect at the back of an
art magazine. So I gave it two coats of acrylic paint.....some shade of cream. Distressed it....as it must be grungy, stamped some script on with black ink and glued on a watercolor from one of the magazines. I then took some acrylic paints and some watercolor and changed the image up some...
Not bad.....I again dried it with my heat gun.
Now good sense would have to put it away for the night.....but not yet.
I should interject here, that at this point I realized that because my cover was wet, I virtually frigged the spine from opening and closing it while damp. The card stock wore through, but now it looks more grungy and old.....so I am OK with that little consequence of my impatience.....I will fix it up with some tape when it is completely dry.
I just had to do one more before turning in for the night.

The original two page spread looked like this.......hmmmmm
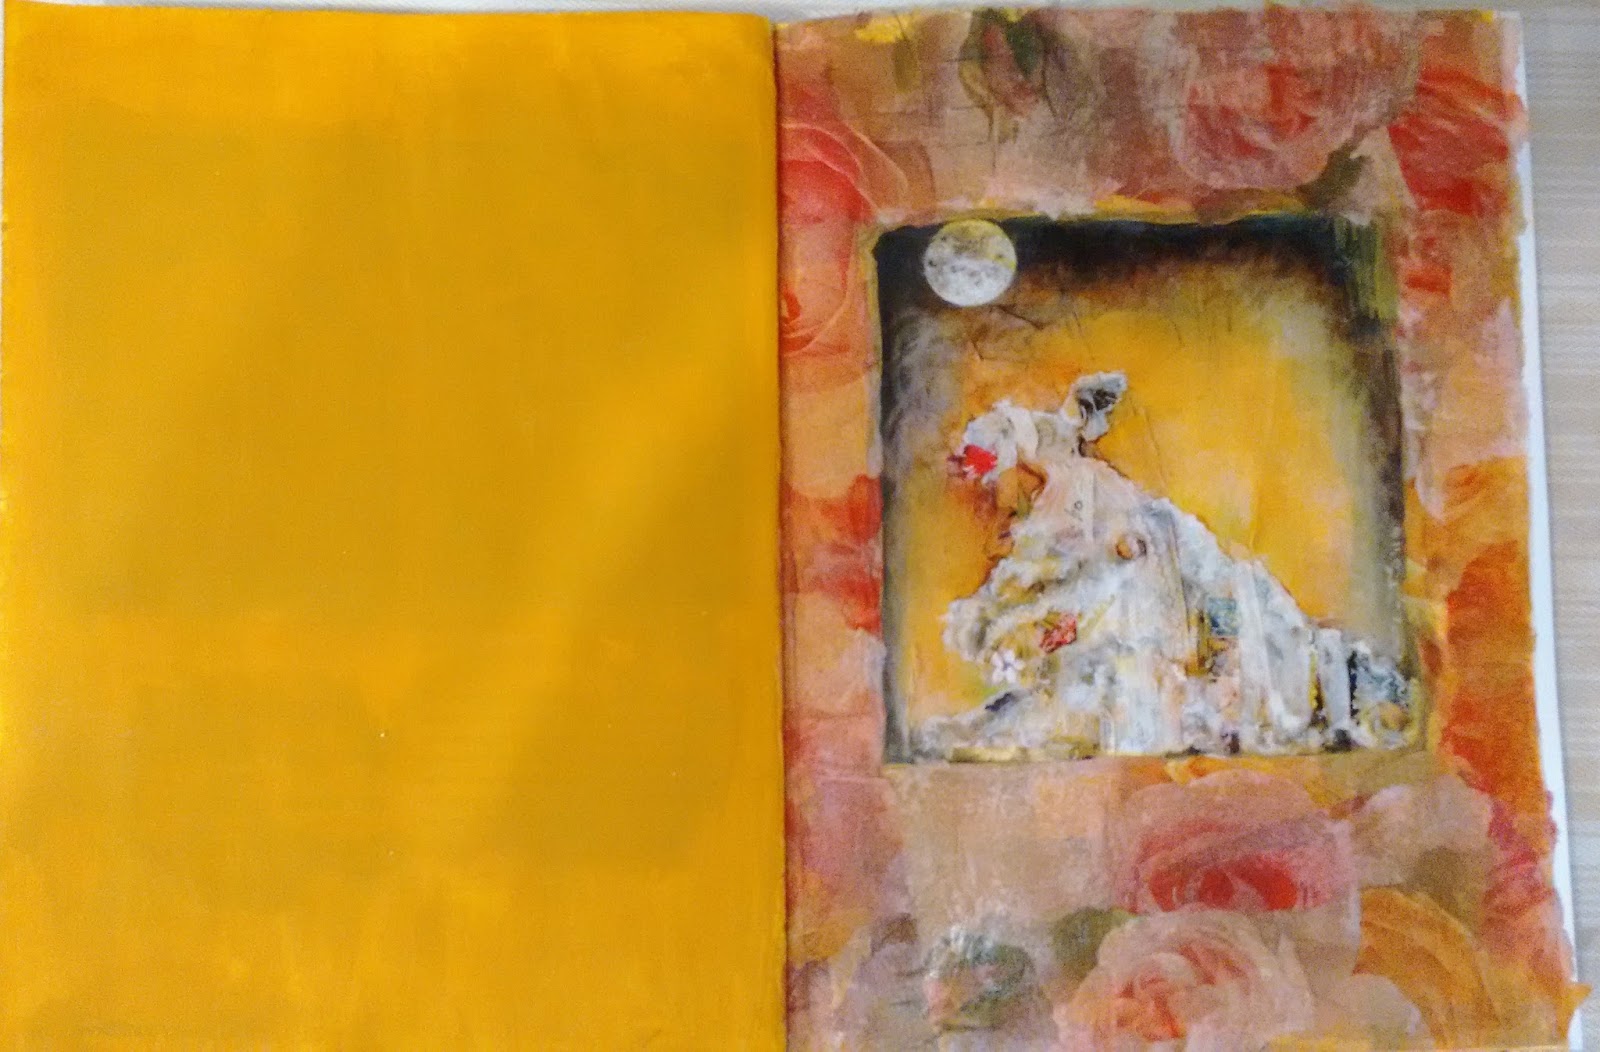
(Something Old Something New - Charilee Benefield - Stampington & Co, March 2013)
So match the paint.....I love ocher and just happened to have a bottle of craft acrylic on my desk. Two coats did the trick, but I wanted to do something around the image itself. My go to answer is tissue paper and as luck would have it my rose napkins also have ocher in the mix. LOVE IT!

Love the texture. And I did put it away for the night.
Friday morning.......day two of our March Nor'Easter. Once the house work was done and all marking for school was completed I headed back to my art room to see how the magazine dried over night.
Things looked good so I did one more page at the back.......and told myself that I would let it dry properly this time.
These two pages again were just text. There was a full page image that I had removed from the first Stampington magazine so I decided I would use that and make some changes to it. I first painted out both sides with antique ivory and distressed the edges. Then I fussy cut around the image of my focal page and glued it on. There was a piece of lace with a bit of bling that I removed from my first altered book asking to be used.....so with some double sided tape I affixed it to the side of the page. Then I used my brown Stabilo pencil to shade.....but, the text on the other page was so dark it was bleeding through.....so.....

(Butterflies by Aime Seahorn - Stampington & Co. March 2013)
I made two additional tags and found some very realistic butterflies to add a bit of color to the pages.

Not sure just where I want to go with this page.....so I am walking away for the night.
But to be perfectly honest, there was something on my table that was calling to me. There was a little tin box that was very unhappy with me. I had attempted to make a collection piece like Ina Solsbery did......again on YouTube. Her's was lovely. https://www.youtube.com/watch?v=lBs6-SdF-hc
Looked like fun while she was doing it.....a fun and easy project. Not so much. My first attempt was not even picture worthy.
I did cover the outside of the tin with text underpants and some of my rose napkin. It passed the test. The inside was an eyesore. I was considering ripping it all out.....somehow salvaging the tin. But how?
Then today LorriMarie Jenkins posted her Day 23 Challenge. It just happened to be a little tin box which she embossed with copper tape.....I had silver duct tape......and a sad little tin box.
I had a nice cup of tea and watch LorriMarie's video https://www.youtube.com/watch?v=mdnlKBQbs7Y and off I went. My little tin box is no longer sad.....The zipper and much of the bits in side the tin were from my original assemblage attempt. I added the turquoise bling, bit of lace and the bottle. Spent the next hour applying the duct tape and burnishing it. Tedious yet satisfying. A bit of black paint added then wiped off and there you have it.

And like "magic" the sad little tin was transformed.

Success! The Nor'Easter has passed. The yard has been cleared of snow.....I am pleased with my art projects. Oh, I almost forgot. I have started another "altered book" from yet another never read Dr. Phil book and continue to look for focal images large enough for my huge "altered cookbook."
Gnite.
No comments:
Post a Comment